Använd koden
20NOW Klicka för att kopiera koden innan du stänger rutan. 20% rabatt!
Gäller alla produkter till ord.pris
Shoppa nu Visa inte igen
.jpg)
Att fästa tippar med rubber base istället för nagellim är en metod som ger bättre kontroll, flexibilitet och ofta bättre hållbarhet i din nagelbehandling.
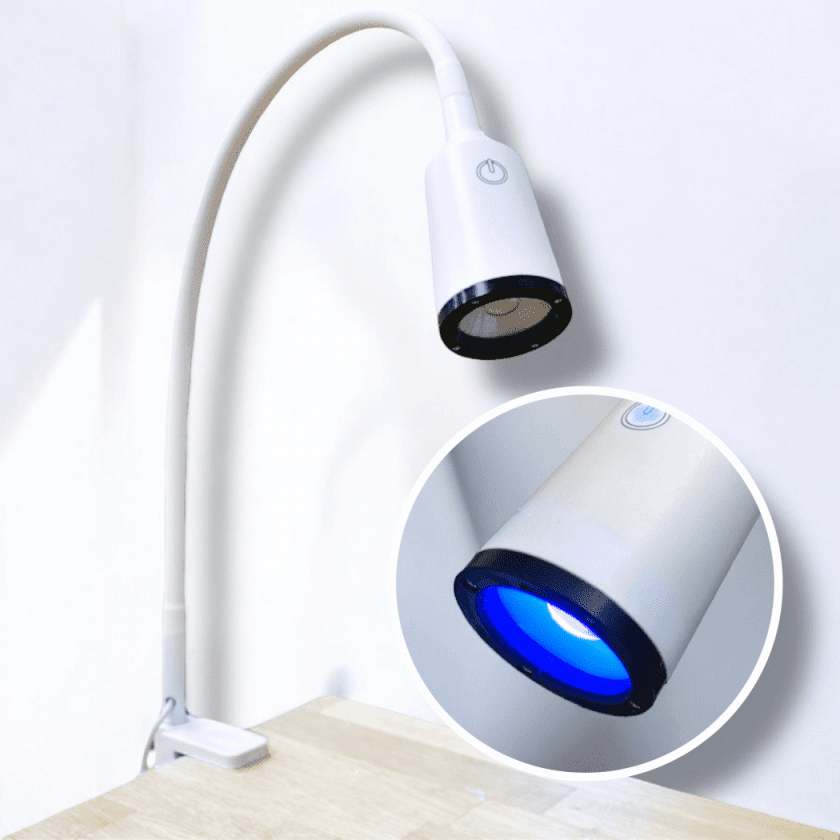
Med hjälp av en Freeze Frame LED-lampa kan du snabbt fryshärda tippen på plats innan du gör en full härdning i din vanliga LED-lampa.
Varför använda rubber base istället för nagellim?
Rubber base ger ett mer flexibelt fäste som följer den naturliga nageln. Du får bättre kontroll vid applicering och kan justera tippen innan den fryshärdas.
Metoden passar perfekt för dig som vill arbeta mer kontrollerat och skapa hållbara naglar med gelé eller acrygel ovanpå.
Steg för steg - fäst tippar med rubber base
1 - Förbered tippen
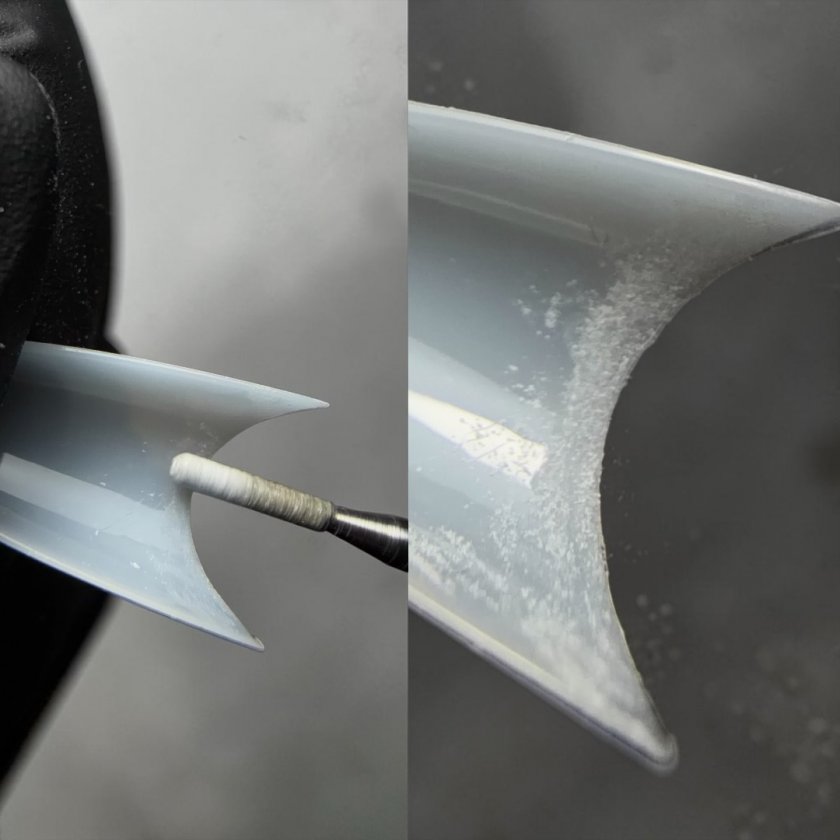
Fila undersidan av tippen vid fästytan med en buffer eller diamantbit. Detta skapar en ruggad yta som ger bättre fäste.
2 - Förbered naturliga nageln
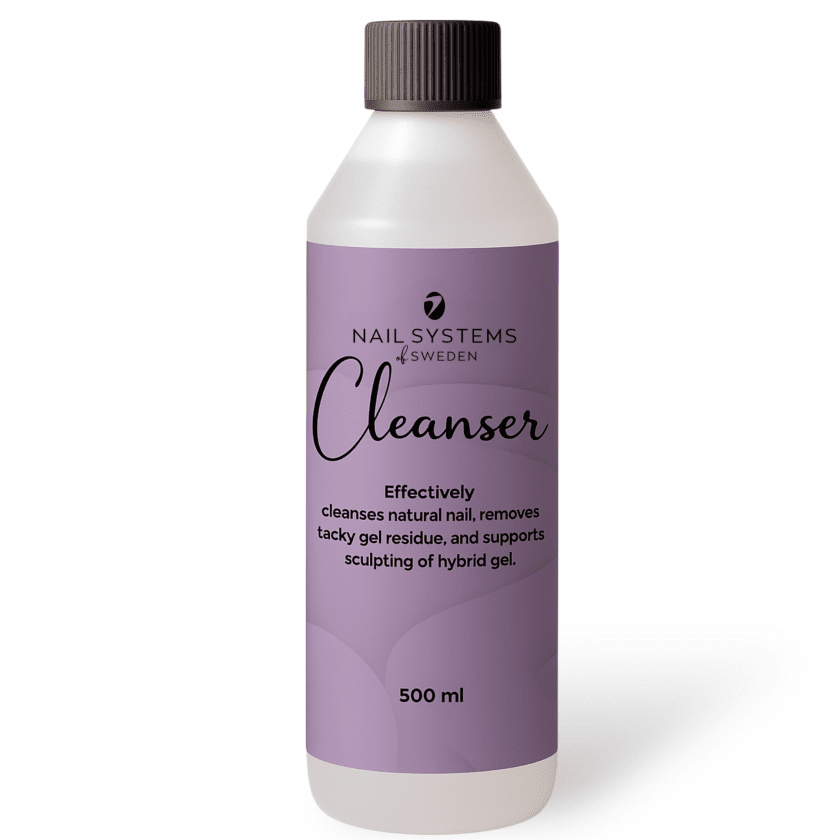
Utför din vanliga prep - matta ner, rengör med NS Cleanser och förbered nageln för bästa möjliga hållbarhet.
3 - Applicera rubber base
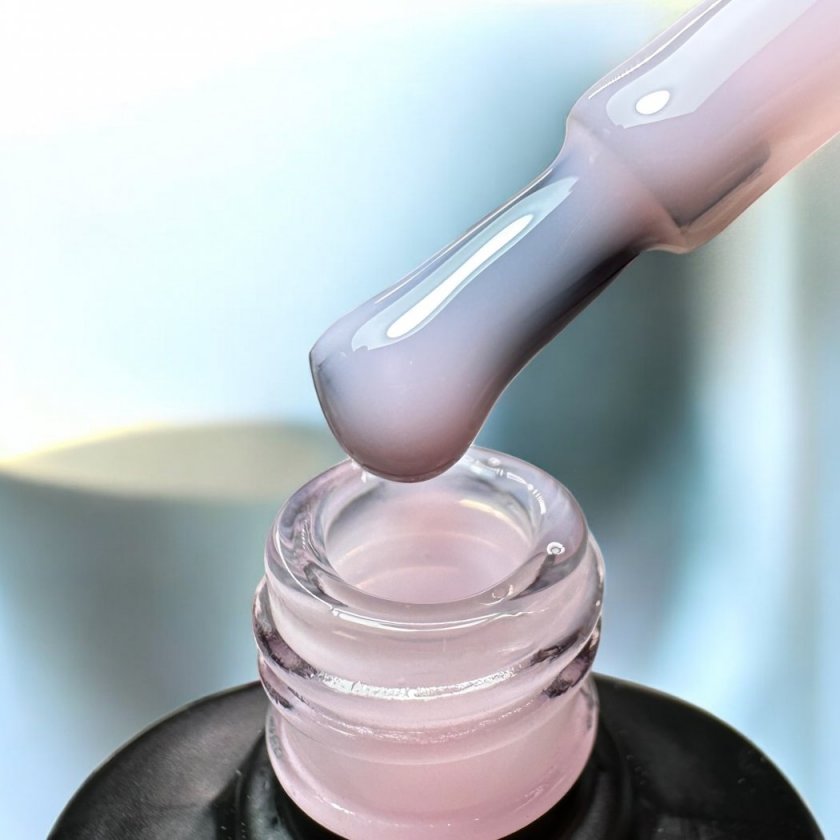
Applicera ett tunt lager rubber base eller Prime & Perfect på den naturliga nageln.

4 - Fäst och fryshärda
Placera tippen mot fria kanten och håll försiktigt på plats. För in nageln under Freeze Frame-lampan och fryshärda i cirka 5 sekunder.
Därefter härdar du klart i din vanliga LED-lampa för full härdning.
5 - Forma och fortsätt
Klipp och fila tippen till önskad längd och form. Därefter kan du arbeta vidare med gelé eller acrygel beroende på vilken teknik du föredrar.
Den här metoden ger dig mer kontroll i ditt arbete som nagelterapeut och öppnar upp för ett mer flexibelt sätt att arbeta med tippar. Perfekt för dig som vill utveckla din teknik och skapa hållbara resultat.
Attaching nail tips with rubber base instead of nail glue is a method that gives better control, flexibility and often better durability in a nail treatment.
With a Freeze Frame LED lamp, you can quickly flash cure the tip in place before completing the full cure in your regular LED lamp.
Why use rubber base instead of nail glue?
Rubber base creates a more flexible bond that follows the natural nail. You get better control during application and can adjust the tip before it is flash cured.
This method is perfect for nail technicians who want to work with more control and create long-lasting nails with gel or acrygel on top.
Step by step - attach tips with rubber base
1 - Prepare the tip
File the underside of the tip at the contact area with a buffer or diamond bit. This creates a roughened surface for better adhesion.
2 - Prepare the natural nail
Perform your usual prep - gently buff, cleanse with NS Cleanser and prepare the nail for the best possible durability.
3 - Apply rubber base
Apply a thin layer of rubber base or Prime & Perfect to the natural nail.
4 - Attach and flash cure
Place the tip against the free edge and gently hold it in place. Move the nail under the Freeze Frame lamp and flash cure for about 5 seconds.
Then complete the full cure in your regular LED lamp.
5 - Shape and continue
Cut and file the tip to the desired length and shape. Then continue with gel or acrygel depending on your preferred technique.
This method gives you more control in your work as a nail technician and opens up a more flexible way to work with tips. Perfect for improving your technique and creating long-lasting results.
Godkänd av

![]()
![]()
![]()
![]()
Produkten har blivit tillagd i varukorgen
Skapa ett kundkonto hos oss och få en rabattkod skickad till din mail. En smidig start för dig som vill upptäcka vårt sortiment.
Är du redan kund? Logga in och kika på aktuella erbjudanden och favoriter.