Använd koden
20NOW Klicka för att kopiera koden innan du stänger rutan. 20% rabatt!
Gäller alla produkter till ord.pris
Shoppa nu Visa inte igen

.jpg)
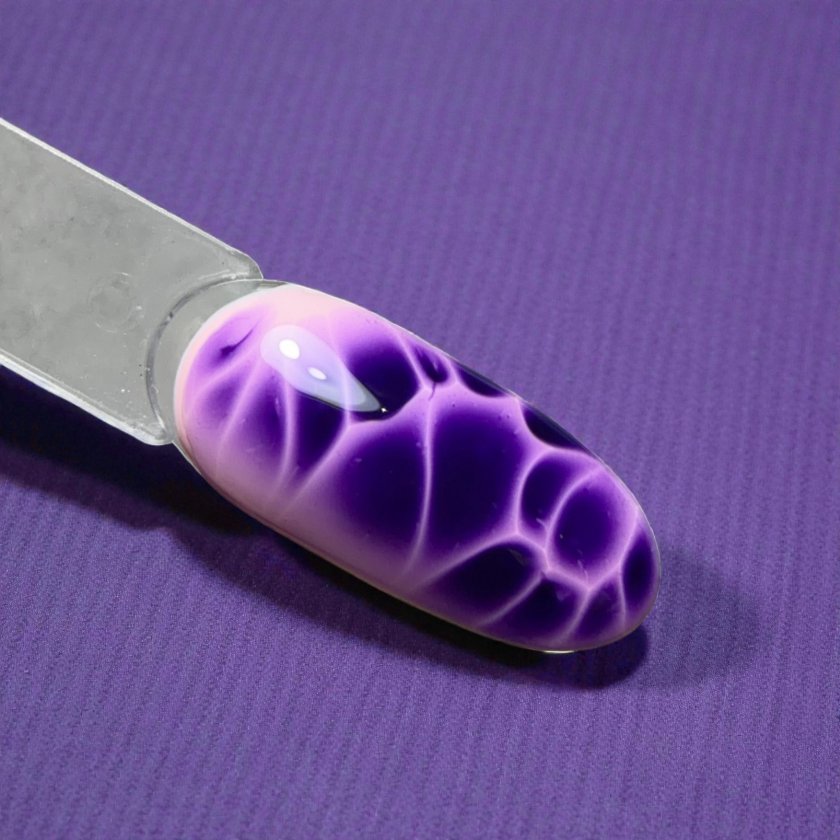
Blooming nail art är en teknik som snabbt skapar levande och mjuka mönster med mycket effekt. Med Blooming Gel Clear får du en yta där färgen flyter ut och formar organiska designer med djup.
I det här inlägget går vi igenom hur du använder Blooming Gel Clear steg för steg - från förberedelse till färdig design.
Vad är Blooming Gel?
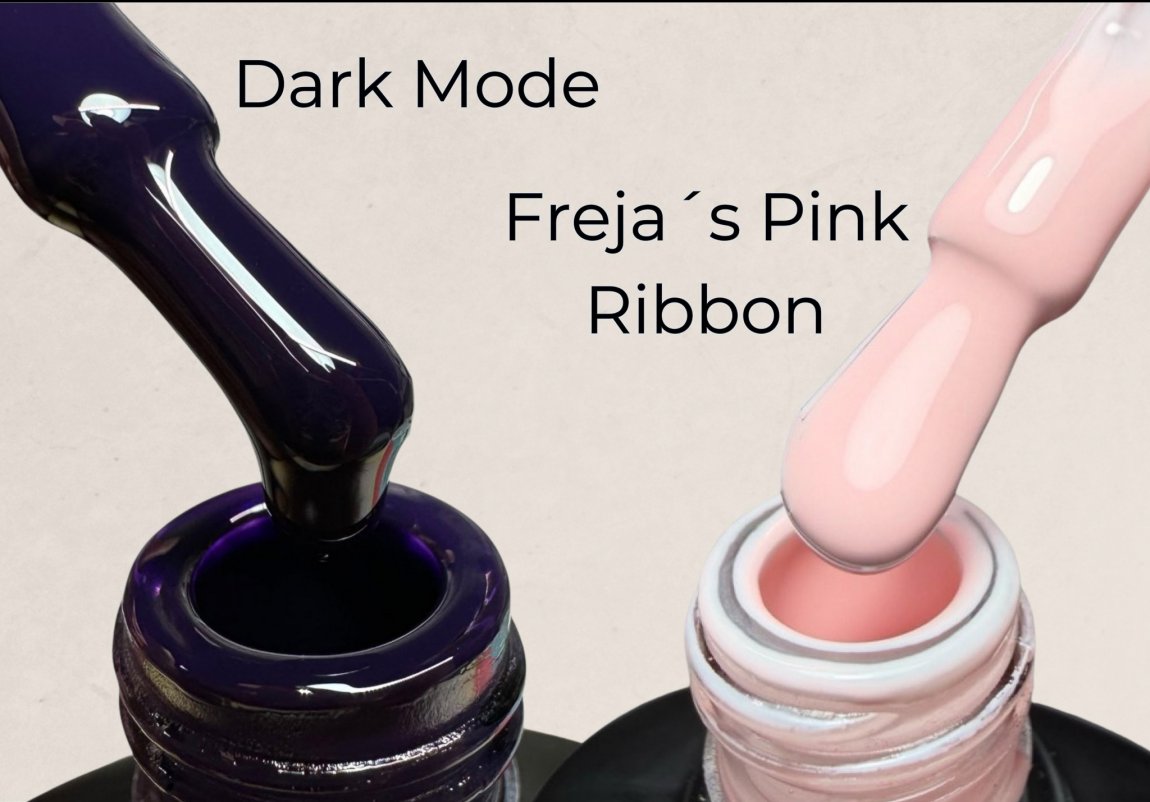
Blooming Gel Clear är en klar gel framtagen för att skapa effektfull nail art med blooming-teknik. Produkten appliceras som ett lager ovanpå bas/färg innan gelpolish-färg läggs på i önskad design.
När färgen appliceras på den ohärdade ytan börjar det flyta ut och skapa mjuka, organiska mönster. Resultatet blir levande designer med djup - perfekt för marmoreffekter, blommor och abstrakt nail art.
Steg för steg
1 - Förbered nageln
Gör en noggrann prep och rengör ytan ordentligt. På naturliga naglar applicerar du valfri Gel Polish Base och härdar. På konstnaglar bygger du klart nageln, filar till form och borstar bort damm.
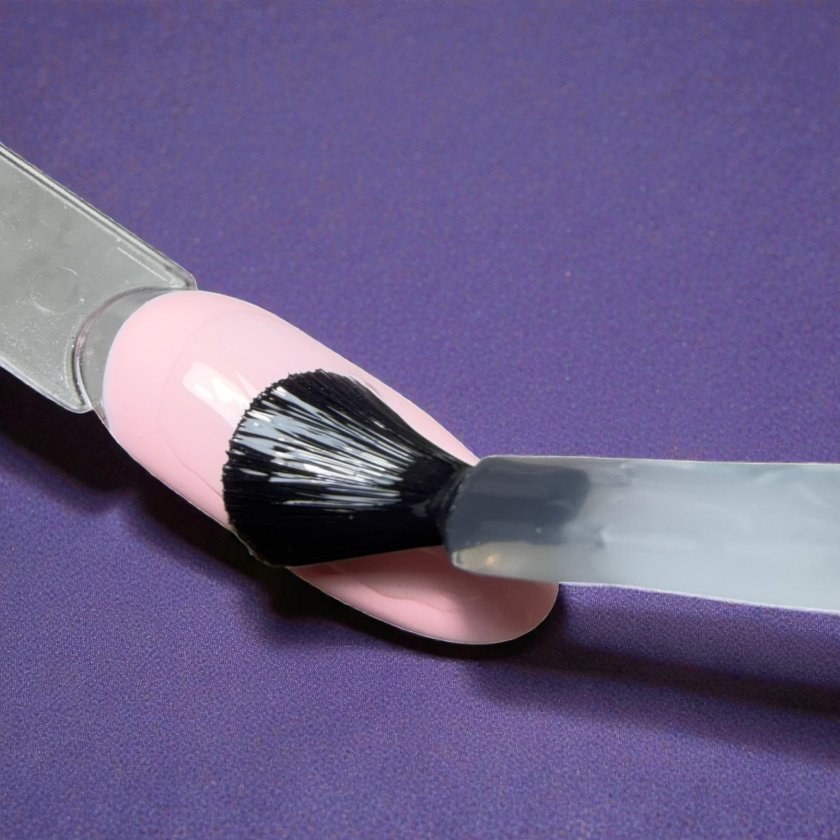
2 - Applicera Blooming Gel Clear
Lägg ett jämnt lager Blooming Gel Clear ovanpå ytan. Härda inte i detta steg. Designen ska skapas direkt i den ohärdade gelen för att blooming-effekten ska uppstå.
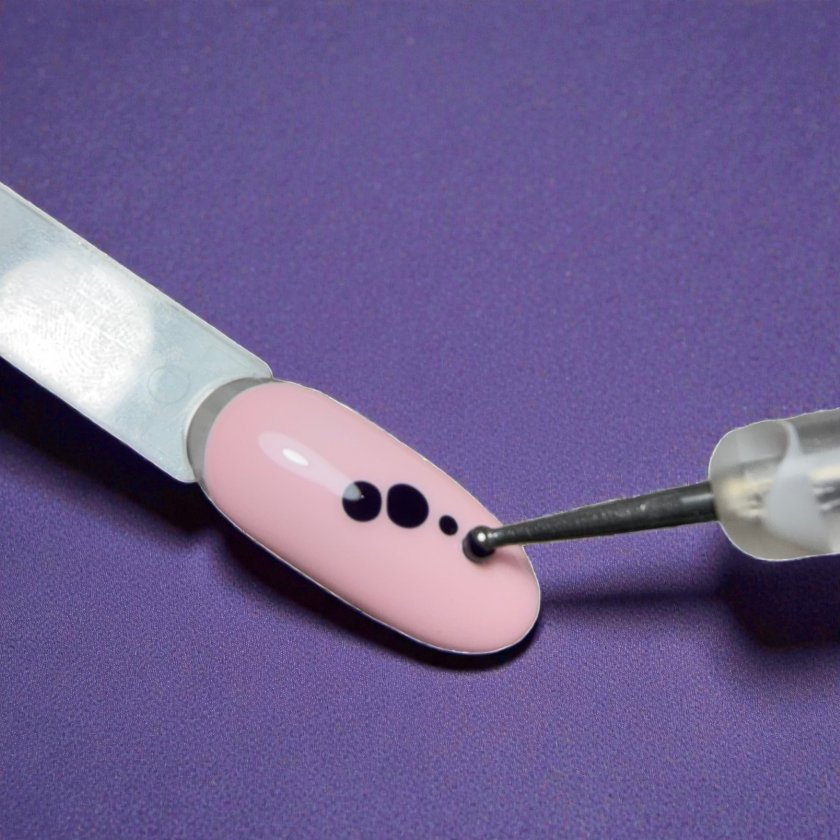
3 - Måla din design
Skapa ditt mönster med valfri gelpolish-färg. Du kan göra prickar, linjer, blomblad eller mer abstrakta former beroende på vilken effekt du vill få fram.
4 - Låt designen blomma ut och härda
Vänta tills designen blommat ut till önskad effekt. Därefter härdar du 30 sek i Nail Systems LED-lampa eller 60 sek i annan LED-lampa.
Avsluta med valfri Top Gel och härda 60 sek i LED-lampa för en jämn och hållbar finish.
Tips för snygg blooming-design
Blooming nail art is a technique that quickly creates dynamic and soft patterns with a lot of visual impact. With Blooming Gel Clear, you get a surface where the color spreads out and forms organic designs with depth.
In this post, we go through how to use Blooming Gel Clear step by step - from preparation to the finished design.
What is Blooming Gel?
Blooming Gel Clear is a transparent gel developed to create impactful nail art using the blooming technique. The product is applied as a layer on top of base/color before gel polish is added in the desired design.
When the color is applied onto the uncured surface, it begins to spread and create soft, organic patterns. The result is dynamic designs with depth - perfect for marble effects, florals, and abstract nail art.
Step by step
1 - Prepare the nail
Do a thorough prep and cleanse the surface carefully. On natural nails, apply your chosen Gel Polish Base and cure. On enhancements, finish the structure, refine the shape, and remove all dust.
2 - Apply Blooming Gel Clear
Apply an even layer of Blooming Gel Clear on top of the surface. Do not cure at this stage. The design should be created directly in the uncured gel for the blooming effect to appear.
3 - Paint your design
Create your pattern with any gel polish color. You can use dots, lines, petals, or more abstract shapes depending on the effect you want.
4 - Let the design bloom and cure
Wait until the design has bloomed to the desired effect. Then cure for 30 seconds in a Nail Systems LED lamp or 60 seconds in another LED lamp.
Finish with your chosen Top Gel and cure for 60 seconds in an LED lamp for a smooth and durable finish.
Tips for beautiful blooming nail art
Approved by

![]()
![]()
![]()
![]()
The product has been added to your cart
Skapa ett kundkonto hos oss och få en rabattkod skickad till din mail. En smidig start för dig som vill upptäcka vårt sortiment.
Är du redan kund? Logga in och kika på aktuella erbjudanden och favoriter.